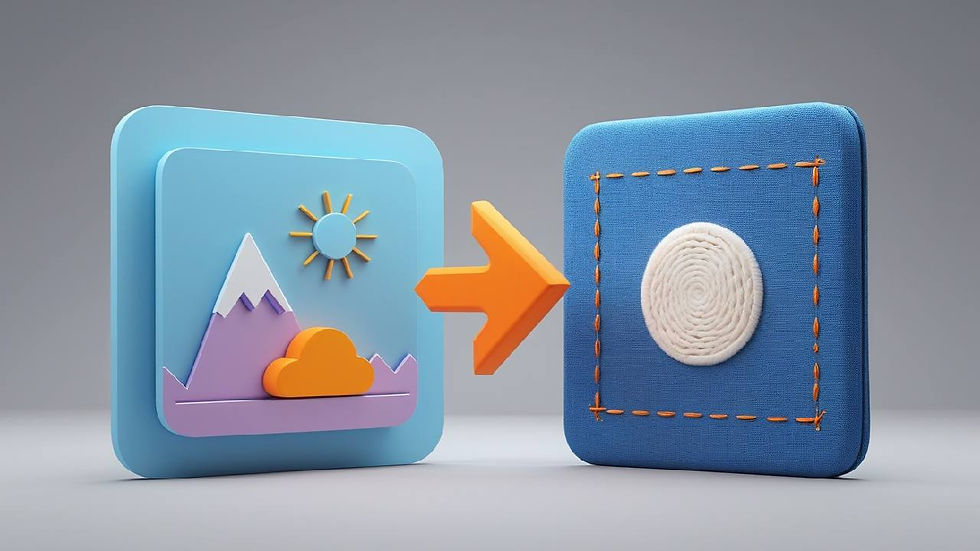
How to Convert Images to Embroidery Files: Turning Art into Stitchable Designs
- Toheed Antaal
- Aug 4, 2025
- 3 min read

Custom embroidery is a powerful way to make your artwork, logos, or personal projects stand out — whether on apparel, home decor, or accessories. But before your embroidery machine can start stitching, your design needs to be in a format it understands. If you’ve ever wondered how to convert images to embroidery files, this guide will walk you through the process step by step.
From choosing the right image to using digitizing software and testing the final file, this article breaks down the essentials for beginners and DIY creators.
Why Images Must Be Converted for Embroidery Machines
Digital images like JPG, PNG, or BMP are designed for screens and printers — not embroidery machines. These machines don’t interpret pixels; they need stitch instructions.
Embroidery files contain data about:
Stitch types (satin, fill, run, etc.)
Stitch placement and direction
Thread color changes
Jump, trim, and stop commands
Overall sequence of the design
Common embroidery file formats include:
.DST (used by Tajima and many commercial machines)
.PES (used by Brother)
.JEF (used by Janome)
Other formats: .EXP, .VP3, .XXX, etc.
Learning how to convert images to embroidery files allows you to move from concept to finished product seamlessly.
Step 1: Select the Right Image
Before digitizing, choose an image suitable for embroidery. Ideal images have:
Clean lines and bold shapes
Few colors (under 6 is ideal)
No fine gradients or small text
High resolution for clarity
Logos, symbols, badges, and cartoon-style art are great choices. If your image is complex, simplify it in graphic software like Adobe Illustrator or use free alternatives like Inkscape or GIMP.
Step 2: Import and Digitize with Software
To digitize your image, you’ll need embroidery software. Popular programs include:
Wilcom
Hatch Embroidery
SewArt
Embird
Brother PE-Design
Here’s how the digitizing process generally works:
Import the image into the software.
Trace each section of the design manually or automatically.
Assign stitch types — satin stitches for borders, fill stitches for solid shapes, and run stitches for fine detail.
Set stitch direction and angle to create depth and smooth transitions.
While some tools offer auto-digitizing, manual digitizing typically results in better quality — especially for professional or detailed projects.
Step 3: Optimize Your Design
Before exporting your file, fine-tune the digitized design by adjusting:
Stitch density – Too dense can cause thread breaks or puckering.
Underlay stitching – Adds structure and prevents distortion.
Pull compensation – Offsets fabric pull to preserve shape.
Color sequencing – Reduces unnecessary thread changes.
Preview your design in the software’s simulation mode to detect flaws or overlapping stitches.
Step 4: Export in the Correct Format
Save the final design in your embroidery machine’s compatible format (e.g., .DST for commercial machines, .PES for Brother, etc.). Always save a backup in the native software format in case you need to make changes later.
Once saved, transfer the file to your embroidery machine via USB or direct connection.
Step 5: Test Before Production
Always run a test stitch on a scrap piece of fabric. This helps you verify:
Alignment and placement
Thread tension
Color changes
Overall stitch quality
Making small corrections before stitching on the final item can save you time and materials.
Want a Hassle-Free Option? Use Embroidery Digitizing Services
If you’d rather not handle the technical side, professional Embroidery Digitizing Services are a smart alternative. These experts take your image and return a fully optimized stitch file, customized for your machine and fabric type. This saves time and ensures high-quality results, especially if you’re producing items for sale or branding.
Final Thoughts
Knowing how to convert images to embroidery files gives you the freedom to personalize just about anything with precision and style. Once you understand the process — from image selection to digitizing and testing — your creative options expand dramatically.
Whether you're crafting at home or preparing custom orders, mastering how to convert images to embroidery files is the foundation of successful machine embroidery.
A platform where you'll get embroidery designs and knowledge about embroidery.Visit now: Stitch Digitizer


Comments